Happy Tuesday everyone! Today’s tips are about product photography!
Product Photography
Although not by any means an expert, I’ve learned a lot about what buyers like in photos with a little bit of experimenting!
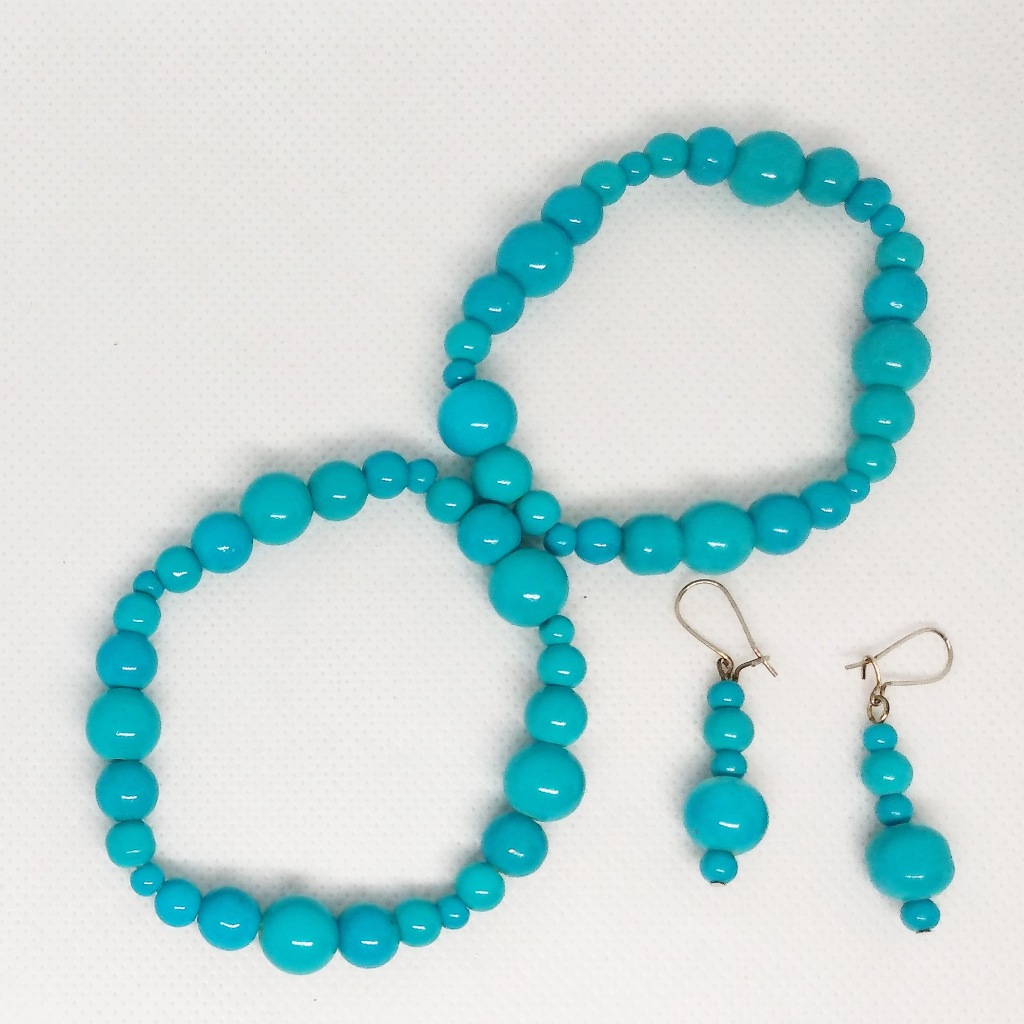
- First thing that is a MUST in my opinion is a light box. You can get them for like $12 on Amazon and it’s seriously a life changer.
Light boxes give you even, bright white light that avoids shadowing issues (A problem that was the bane of my existence before I had this box).
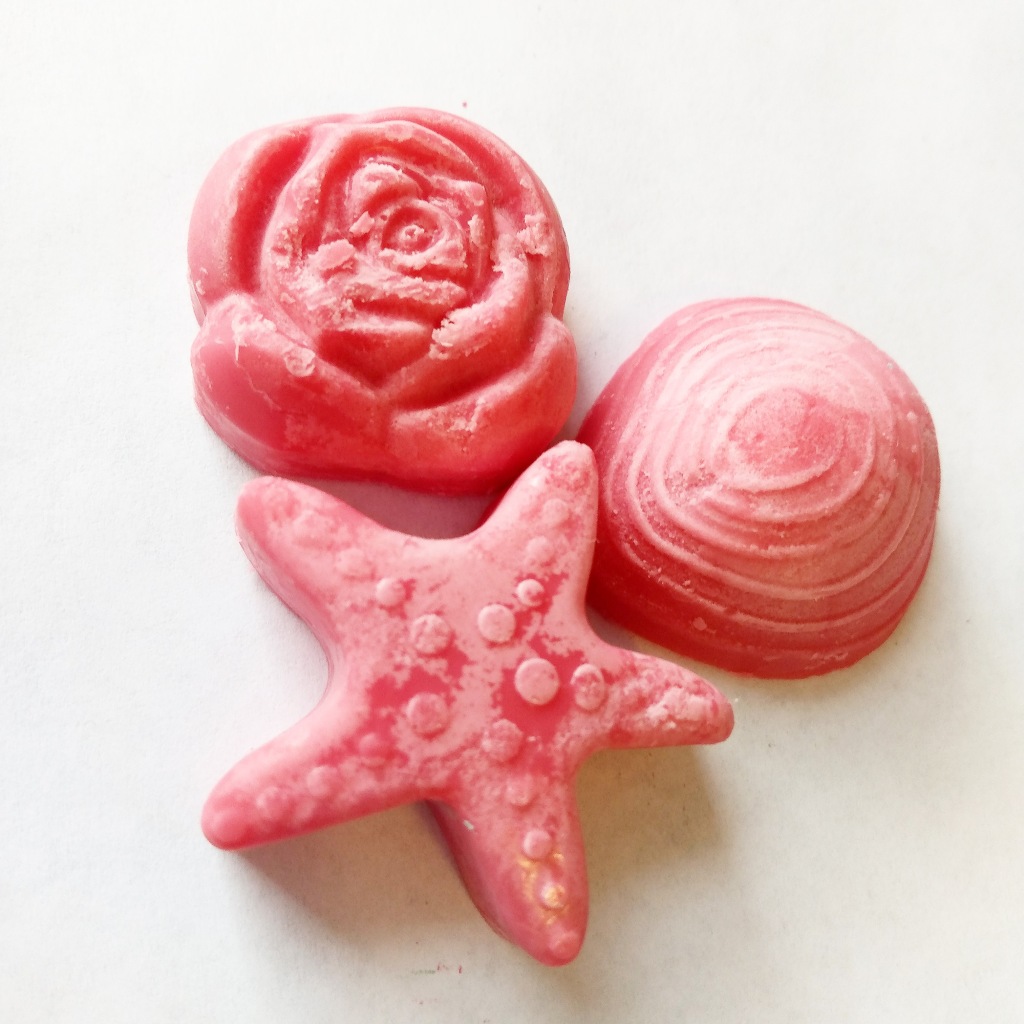
2. Although personally I’m drawn to textures like wood or marble, my products began selling MUCH better when I chose a clean, white background. There must be a reason that the majority of sellers use this technique. I’m not saying you can’t use wood or texture but personally when I made the switch it lead to more views and sales.
3. I use a photo editor to brighten up the photos a touch. You don’t want to over edit or make the product look different than it actually is though. Cameras can’t always capture the true colors of a product so I find that brightening helps.
4. If you use props don’t go over board. Don’t put things in the picture that make the buyer wonder if it comes with it or not. If you sell orange lotion and place an orange by it obviously the buyer isn’t getting the orange. It’s just a tasteful way of showing the scent. On the other hand, if you’re selling say a hand mirror I wouldn’t put a brush next to it. It just makes it confusing and takes attention away from what is actually being sold.
These are my tips for you guys! I hope they help! If you have any questions please comment below!